To start sending and receiving emails with MailCub, you must first add your domain and verify ownership by configuring DNS records. This process ensures secure email delivery and helps protect your domain reputation.
Step 1: Add Your Domain in MailCub
-
Log in to your MailCub Portal
-
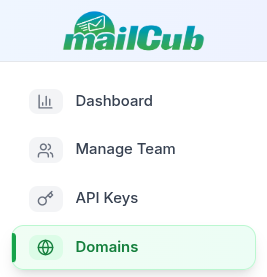
Navigate to Domains from the left sidebar
-
Click Add Domain Enter your domain name (without
wwworhttps://) Example:mailcub.example.comSelect the domain status (recommended: Active) Click Add Domain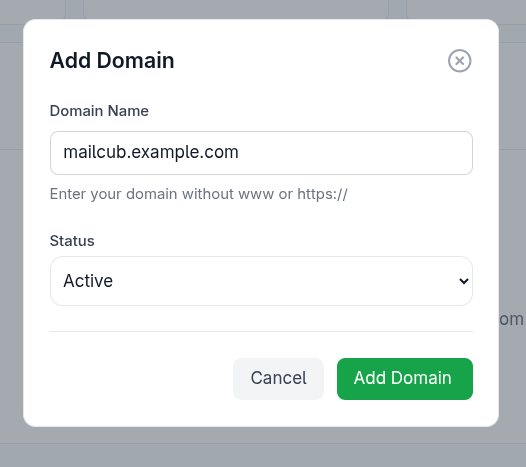
Once added, MailCub will generate DNS records required for verification.
Step 2: Add DNS Records for Your Domain
To use MailCub for transactional email or email hosting, you must add the provided DNS records to your domain provider (such as Cloudflare, GoDaddy, Namecheap, or Route 53).
These records authenticate your domain and allow MailCub to send and receive emails on your behalf.
Example DNS Configuration
(for mailcub.example.com)
1. MX Record (Route Incoming Email to MailCub)
| Field | Value |
|---|---|
| Type | MX |
| Name / Host | mailcub.example.com |
| Value | mail.mailcub.example.com |
| Priority | 10 |
📌 Purpose: Routes incoming emails to MailCub mail servers.
2. SPF Record (Authorize MailCub to Send Emails)
| Field | Value |
|---|---|
| Type | TXT |
| Name / Host | mailcub.example.com |
| Value | v=spf1 include:spf.mailcub.example.com ~all |
📌 Purpose: Prevents email spoofing by allowing MailCub servers to send emails for your domain.
3. DMARC Record (Email Authentication Policy)
| Field | Value |
|---|---|
| Type | TXT |
| Name / Host | _dmarc.mailcub.example.com |
| Value | v=DMARC1; p=none; pct=100; rua=mailto:dmarc@mailcub.example.com |
📌 Purpose: Improves deliverability and provides reports on email authentication results.
4. DKIM Record (Sign Outgoing Emails)
| Field | Value |
|---|---|
| Type | TXT |
| Name / Host | sendonly._domainkey.mailcub.example.com |
| Value | v=DKIM1; h=sha256; k=rsa; p=... |
📌 Purpose: Cryptographically signs outgoing emails to ensure message integrity.
Step 3: Verify Domain Ownership
After adding all DNS records:
-
Return to the Domains section in MailCub
-
Click Verify Domain
-
DNS verification may take a few minutes to several hours, depending on your DNS provider
Once verified, your domain status will change to Verified, and email services will be enabled.